James Carter
How to Build Cryptocurrency Mining Rig-Step by Step Guide
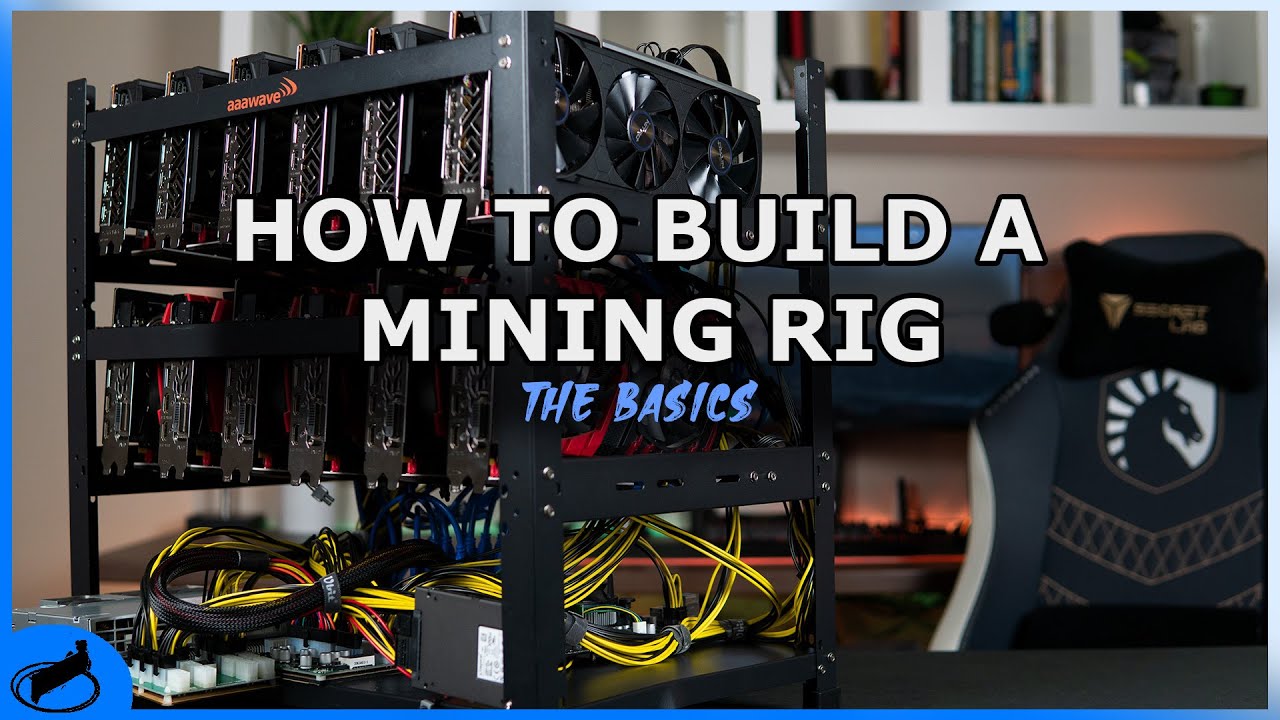
Cryptocurrency mining has become a popular way to earn passive income. It involves solving complex mathematical equations and algorithms to verify transactions on the blockchain network. In return for verifying transactions, miners are rewarded with a certain amount of cryptocurrency. To mine cryptocurrencies like Bitcoin, Ethereum, and Litecoin, one needs to build a powerful mining rig. In this article, we’ll guide you through the steps of building a cryptocurrency mining rig.
How to Build Cryptocurrency Mining Rig
A. Selecting the Components:
Before building a cryptocurrency mining rig, it’s essential to select the right components. The most crucial components of a mining rig are the Graphics Processing Unit (GPU), Central Processing Unit (CPU), Motherboard, Random Access Memory (RAM), power supply unit (PSU), storage device, and cooling system.
1. Graphics Processing Unit (GPU):
The GPU is the most important component of a mining rig. It’s responsible for solving the complex mathematical equations required for mining cryptocurrencies. When selecting a GPU, it’s important to consider its power consumption, hash rate, and price. Some of the popular GPUs for mining are Nvidia GTX 1060, 1070, 1080, and AMD Radeon RX 580, 570, and 480.
2. Central Processing Unit (CPU):
The CPU isn’t as important as the GPU when it comes to mining cryptocurrencies. However, it’s still essential to select a good CPU that can support the Motherboard and other components. When selecting a CPU, it’s important to consider its power consumption and price. Some of the popular CPUs for mining are Intel Celeron G3900 and AMD Ryzen 3 1200.
3. Motherboard:
The Motherboard is the backbone of a mining rig. It’s responsible for connecting all the components of the mining rig. When selecting a motherboard, it’s important to consider its compatibility with the CPU and GPU, the number of PCI Express slots, and its price. Some of the popular motherboards for mining are ASRock H110 Pro BTC+, ASUS B250 Mining Expert, and Gigabyte GA-H110-D3A.
4. Random Access Memory (RAM):
The RAM is responsible for storing and processing data for the CPU. When selecting RAM for a mining rig, it’s important to consider its speed and price. Most mining rigs require a minimum of 4GB of RAM.
5. Power Supply Unit (PSU):
The PSU is responsible for powering all the components of the mining rig. When selecting a PSU, it’s important to consider its power output, efficiency, and price. A good PSU should have enough power output to support all the components of the mining rig.
6. Storage Device:
The storage device is responsible for storing the operating system and mining software. When selecting a storage device, it’s important to consider its capacity, speed, and price. A solid-state drive (SSD) is recommended for faster boot times and faster data transfer rates.
7. Cooling System:
The cooling system is responsible for keeping the mining rig cool. When mining cryptocurrencies, the components of the mining rig generate a lot of heat. If the mining rig isn’t properly cooled, it can cause damage to the components. A good cooling system should have enough fans and a good heat sink to keep the mining rig cool.
B. Assembling the Components:
Once you’ve selected all the components for the mining rig, the next step is to assemble them. Here’s a step-by-step guide on how to assemble the components of a mining rig:
1. Preparing the workspace:
Before assembling the components, it’s important to prepare the workspace. The workspace should be clean, well-lit, and have enough space to work on the mining rig. It’s also important to have the necessary tools like Screwdrivers, pliers, and thermal paste.
2. Mounting the Motherboard:
The first step in assembling the mining rig is to mount the Motherboard. Place the Motherboard on a flat surface and align it with the mounting holes in the case. Screw the Motherboard onto the standoffs in the case.
3. Installing the CPU and RAM:
Next, install the CPU and RAM onto the Motherboard. Refer to the motherboard manual for instructions on how to install the CPU and RAM. Make sure to apply the thermal paste onto the CPU before installing the CPU cooler.
4. Installing the storage device:
Install the storage device onto the case. Depending on the type of case, you may need to use screws or mounting brackets to secure the storage device.
5. Mounting the power supply unit:
Mount the power supply unit onto the case. Depending on the type of case, you may need to use screws or mounting brackets to secure the power supply unit.
6. Mounting the GPU(s):
Mount the GPU(s) onto the case. Depending on the type of GPU and case, you may need to use screws or mounting brackets to secure the GPU(s). Make sure to connect the power cables to the GPU(s).
7. Installing the cooling system:
Install the cooling system onto the case. Depending on the type of cooling system, you may need to use screws or mounting brackets to secure the fans and heat sink onto the case.
C. Installing the Operating System (OS):
After assembling the components of the mining rig, the next step is to install the operating system (OS). Here’s a step-by-step guide on how to install the OS:
1. Choosing an appropriate OS:
There are several OS options for mining, including Windows, Linux, and EthOS. It’s important to choose an OS that’s compatible with the mining software and easy to use.
2. Creating a bootable USB drive:
Create a bootable USB drive with the OS of your choice. You can use software like Rufus to create a bootable USB drive.
3. Installing the OS:
Insert the bootable USB drive into the mining rig and boot it up. Follow the on-screen instructions to install the OS onto the storage device.
4. Configuring the network settings:
After installing the OS, configure the network settings so that the mining rig can connect to the internet.
D. Setting up the Mining Software:
After installing the OS, the next step is to set up the mining software. Here’s a step-by-step guide on how to set up the mining software:
1. Choosing a mining software:
There are several mining software options, including Claymore, CGMiner, and BFGMiner. It’s important to choose mining software that’s compatible with the GPU(s) and easy to use.
2. Configuring the mining software:
Configure the mining software with the necessary settings, including the mining pool address, username, and password.
3. Connecting to a mining pool:
Connect the mining rig to a mining pool to start mining. Join a mining pool with a good reputation and low fees.
E. Monitoring and Maintenance:
After setting up the mining rig, it’s important to monitor it regularly and perform maintenance as needed. Here’s a guide on how to monitor and maintain the mining rig:
1. Monitoring the mining rig:
Monitor the mining rig regularly for any issues or errors. Use software like MSI Afterburner to monitor the GPU(s) and CPU temperature, hashrate, and power consumption.
2. Troubleshooting common issues:
If the mining rig encounters any issues or errors, troubleshoot the issue to identify the root cause. Common issues include overheating, power supply issues, and hardware failures.
3. Maintaining the mining rig:
Perform regular maintenance on the mining rig, including cleaning the fans and Heat sinks, replacing the thermal paste, and checking the power supply unit for any issues.
WATCH THE VIDEO BELOW FOR MORE CLARIFICATIONS
Summary
Building a cryptocurrency mining rig can be a complex process, but with the right tools and knowledge, anyone can do it. By following this step-by-step guide, you can build a mining rig that’s optimized for mining cryptocurrency and start earning rewards.
It’s important to note that mining cryptocurrency is not always profitable and involves a significant amount of risk. It’s important to do your research and understand the risks and rewards before investing in a mining rig.
Additionally, it’s important to consider the environmental impact of cryptocurrency mining. Mining cryptocurrency requires a significant amount of energy and can contribute to climate change. As a responsible miner, it’s important to minimize your environmental impact by using energy-efficient hardware and renewable energy sources.
In conclusion, building a cryptocurrency mining rig can be a rewarding experience, both financially and intellectually. With the right tools, knowledge, and mindset, anyone can build a mining rig that’s optimized for mining cryptocurrency and contribute to the growing blockchain ecosystem.


Latest
Guides & Tutorials
08 Jul 2026
Guides & Tutorials
04 Jul 2026
Guides & Tutorials
21 May 2026
Guides & Tutorials
13 May 2026
Guides & Tutorials
28 Apr 2026
Guides & Tutorials
15 Mar 2026