James Carter
Best Tips on How to Turn Physical Art into NFT
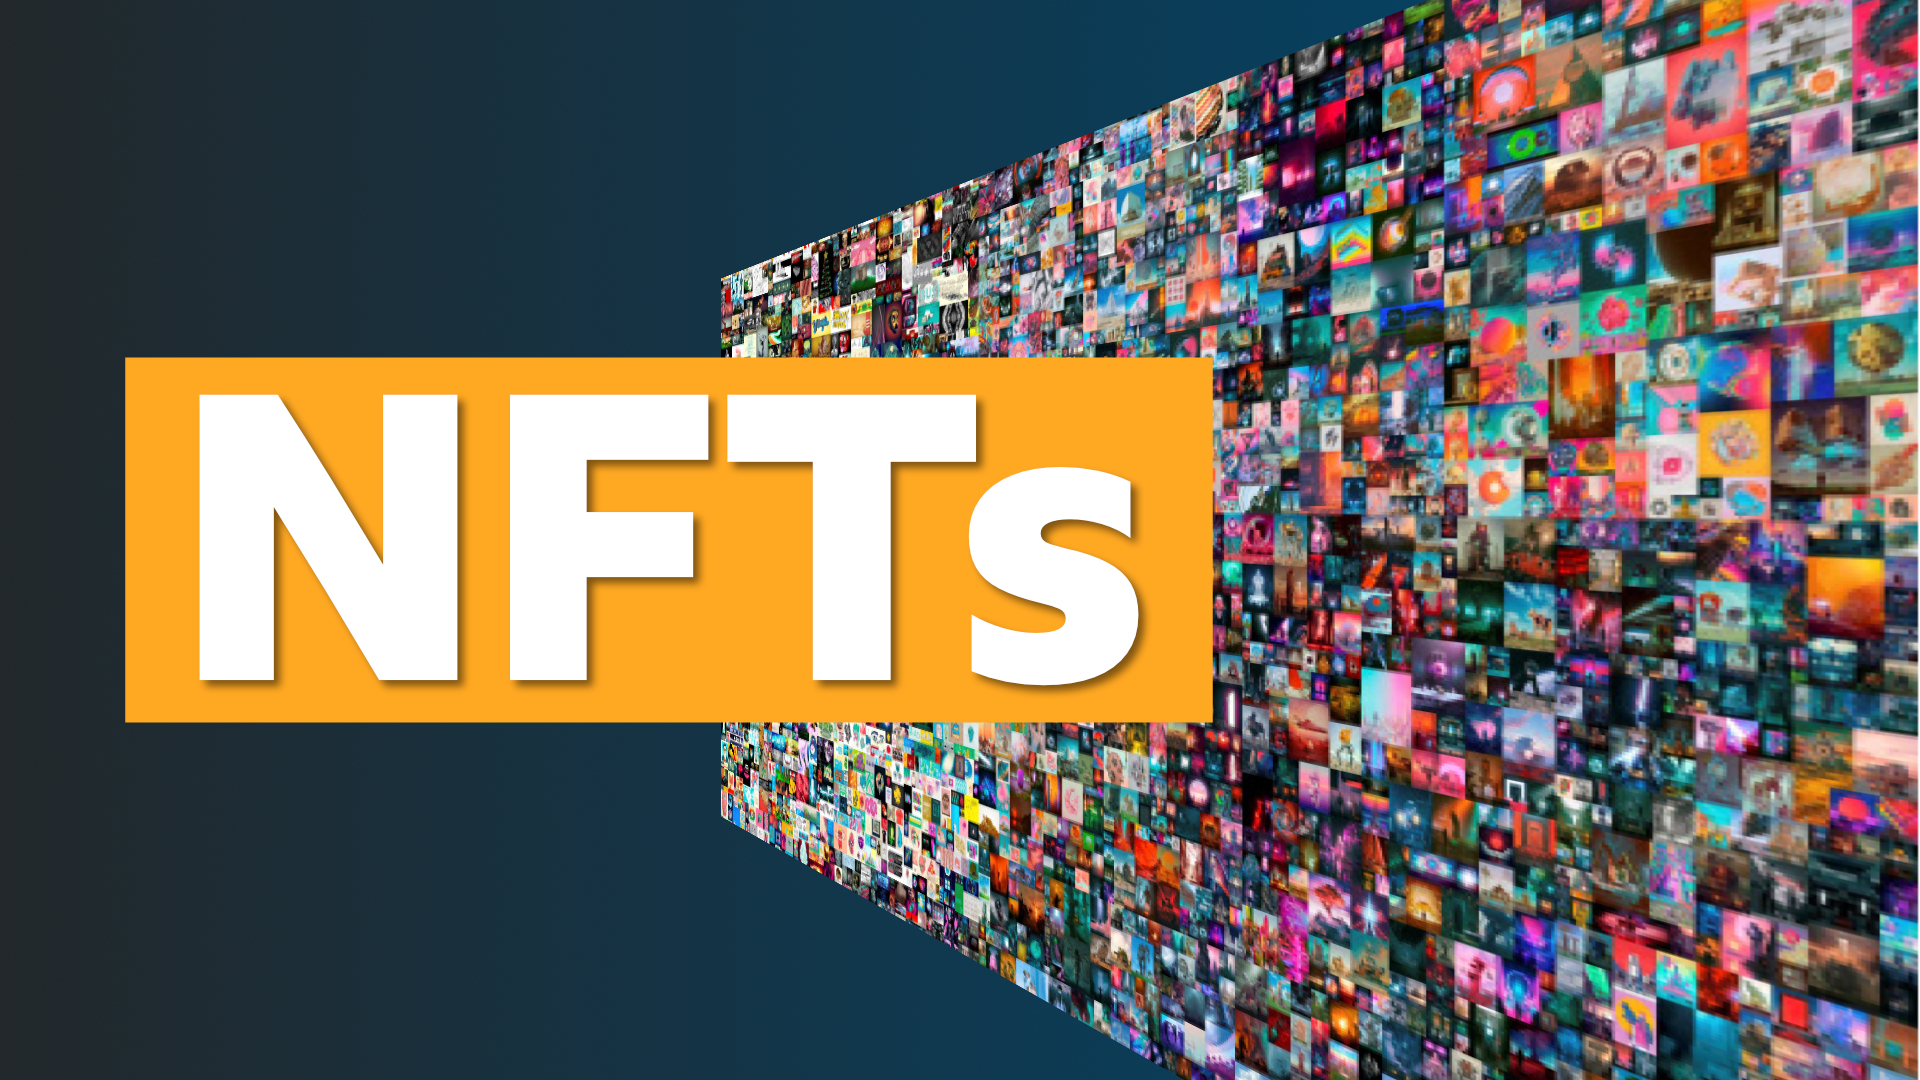
Non-fungible tokens, also known as NFTs, have recently caused a commotion in the art world by introducing a novel approach for artists and collectors to produce, trade, and own digital assets. An NFT, also known as a non-fungible token, is a one-of-a-kind digital certificate of ownership that not only validates the originality of an artwork but also gives its owner the ability to keep, sell or otherwise transfer ownership. As a result of the proliferation of blockchain technology, a growing number of art collectors and artists are turning to non-fungible tokens (NFTs) as a way to secure their investments and their digital assets.
How to Turn Physical Art into NFT
In this post, we will pass through the steps that are supposed to be followed in order to transform a piece of conventional artwork into an NFT so that it can be displayed digitally. You will gain the information you need to successfully convert your physical artwork into an NFT by following the steps in this guide. This tutorial will equip you with the information you need to successfully digitize your collection, whether you are an artist hoping to monetize your work or a collector looking to digitize their collection.
- Preparing the Artwork
The first step in turning physical art into NFT is to prepare the artwork. This includes cleaning and restoring the artwork, taking high-quality photos or scanning the artwork, and creating a digital copy of the artwork.
- Cleaning and Restoring the Artwork
Before you can digitize your physical artwork, you need to make sure that it is in the greatest condition possible so that you can capture its details digitally. This entails fixing any defects or blemishes by washing and polishing the surface. It’s possible, for instance, that the surface of the artwork has to have any dirt or dust removed from it or that it needs to have any tears or breaks repaired.
- Taking High-Quality Photos or Scanning the Artwork
Once the artwork is in good condition, the next step is to take high-quality photos or scan the artwork. High-quality photos or scans are essential for creating a digital copy of the artwork that accurately represents the original. If you decide to take photos, make sure to use a high-quality camera and appropriate lighting. If you decide to scan the artwork, make sure to use a high-resolution scanner and appropriate settings.
- Creating a Digital Copy of the Artwork
With high-quality photos or scans, you can now create a digital copy of the artwork. This may involve using image editing software to adjust the brightness, contrast, and color balance of the photos or scans. You may also need to clean up any imperfections or artifacts that may have been introduced during the photo or scanning process.
- Creating the NFT
The next step in turning physical art into NFT is to create the NFT itself. This involves choosing a blockchain platform, creating an account on the platform, listing the artwork as an NFT, and setting a price.
- Choosing a Blockchain Platform
There are many blockchain platforms that support NFTs, each with its own advantages and disadvantages. When choosing a blockchain platform, consider factors such as the platform’s security, fees, and user-friendliness. Some of the most popular blockchain platforms for NFTs include Ethereum, Binance Smart Chain, and Polygon.
- Creating an Account on the Blockchain Platform
After you have selected a blockchain platform, the following step is to create an account on that blockchain platform using the information you gathered in the previous stage. This typically entails entering some personal information, including your name and email address, as well as setting up a safe password for the account in question. A Know Your Customer, or KYC is the process that can also be necessary for you to complete in order for certain blockchain platforms to authenticate your identity.
- Listing the Artwork as an NFT and Setting a Price
With your account set up, you can now list your artwork as an NFT and set a price. This involves uploading the digital copy of the artwork and setting the price in the blockchain platform’s native cryptocurrency. Some blockchain platforms may also allow you to set a reserve price, a minimum price below which the NFT cannot be sold.
- Marketing the NFT
Once the NFT has been created and listed, it’s time to start marketing the NFT to potential buyers. There are several ways to do this, including promoting the artwork on social media, networking with potential buyers, and offering incentives for early buyers.
- Promoting the Artwork on Social Media
Promoting your non-profit organization on social media may be an efficient approach to reaching a large number of people and is a powerful tool in its own right. You might publish images or videos of the artwork, provide some background information about the artist or the artwork itself and encourage your followers to share the post with their own followers by encouraging them to share the post with their own followers. Twitter, Instagram, and TikTok are examples of well-known social media channels that can be utilized to promote NFTs.
- Networking with Potential Buyers
Networking with potential buyers is another effective way to promote your NFT. You can attend virtual or in-person art events, join online communities dedicated to NFTs, or reach out to art collectors and investors who may be interested in purchasing your NFT.
- Offering Incentives for Early Buyers
Offering incentives for early buyers can be an effective way to attract attention to your NFT and encourage potential buyers to take action. This could include offering discounts, exclusive access to future NFT releases, or other special perks.
- Selling the NFT
Once your NFT has been marketed, the next step is to start receiving offers and negotiating the price. This involves communicating with potential buyers, answering any questions they may have, and negotiating the final price.
- Receiving Offers and Negotiating the Price
Once your NFT has been marketed, you will start receiving offers from potential buyers. You can use a messaging system provided by the blockchain platform or communicate directly with the buyer to answer any questions and negotiate the final price.
- Finalizing the Transaction
Once you have reached a mutually agreed-upon price, the next step is to finalize the transaction. This involves accepting the buyer’s payment, delivering the digital certificate of ownership, and transferring ownership of the NFT to the buyer.
- Delivering the Digital Certificate of Ownership
The final step in selling your NFT is to deliver the digital certificate of ownership. This involves transferring the NFT to the buyer’s digital wallet and providing proof of ownership. The buyer can then hold, sell, or transfer ownership of the NFT as they see fit.
Conclusion
Turning physical art into NFT can be a valuable and lucrative process for artists and collectors alike. By preparing the artwork, creating the NFT, marketing the NFT, and selling the NFT, you can take advantage of the many benefits of NFTs, including the ability to hold, sell, or transfer ownership of digital assets, the protection of your investment, and the potential for significant profits. The transformation of actual art into non-fungible tokens (NFT) is a process that is definitely worth investigating, regardless of whether you are an artist trying to sell your work or a collector looking to digitize your collection.
Latest
NFT
03 Feb 2026
NFT
20 Jun 2024
NFT
19 Apr 2024


